
From Procreate to Vector: How to Scale Your Illustrations Infinitely
If you use Procreate, you already know how amazing it is for drawing, painting, and adding gorgeous textures to your digital art. But there’s one catch: Procreate works in raster format. That means your beautiful artwork is made of pixels. If you ever try to blow it up for a large poster, a billboard, or wallpaper, it’s going to get blurry and pixelated.
The solution? Converting your Procreate artwork into a vector graphic using Adobe Illustrator.
I just put together a full YouTube video walking through this exact process, but I wanted to break down the steps (and the biggest caveat) here on the blog.
Why Convert to Vector?
Before we get to the steps, play with the slider below. It shows exactly what happens when you scale up a pixel-based raster image versus a path-based vector graphic.
Key insight: Vectors use math, not pixels, to draw shapes. This means you can scale a vector illustration to the size of a skyscraper without losing a single drop of resolution.
The Texture Warning!
While vectorizing is incredible for increasing size, it is not a perfect 1:1 translation for highly textured art.
If your Procreate illustration relies heavily on watercolor brushes, dry gouache textures, or subtle pencil grain, you need to temper your expectations. This also applies if you created the illustration using watercolors or gouache and you scanned it in. Illustrator's engine struggles to interpret millions of tiny textured pixels into clean mathematical paths.
What happens?
The image can look "blobby" or messy.
You will likely sacrifice some of those fine, organic details.
The resulting file size can become massive if it tries to map every single speck of texture.
Vectorizing works best for solid colors, bold line art, and flat illustrations. If you do vectorize textured work, treat it as a stylistic choice—it gives the art a slightly different, almost screen-printed look. If you want to see the details of what I am talking about you can head to my YouTube tutorial to see some examples.
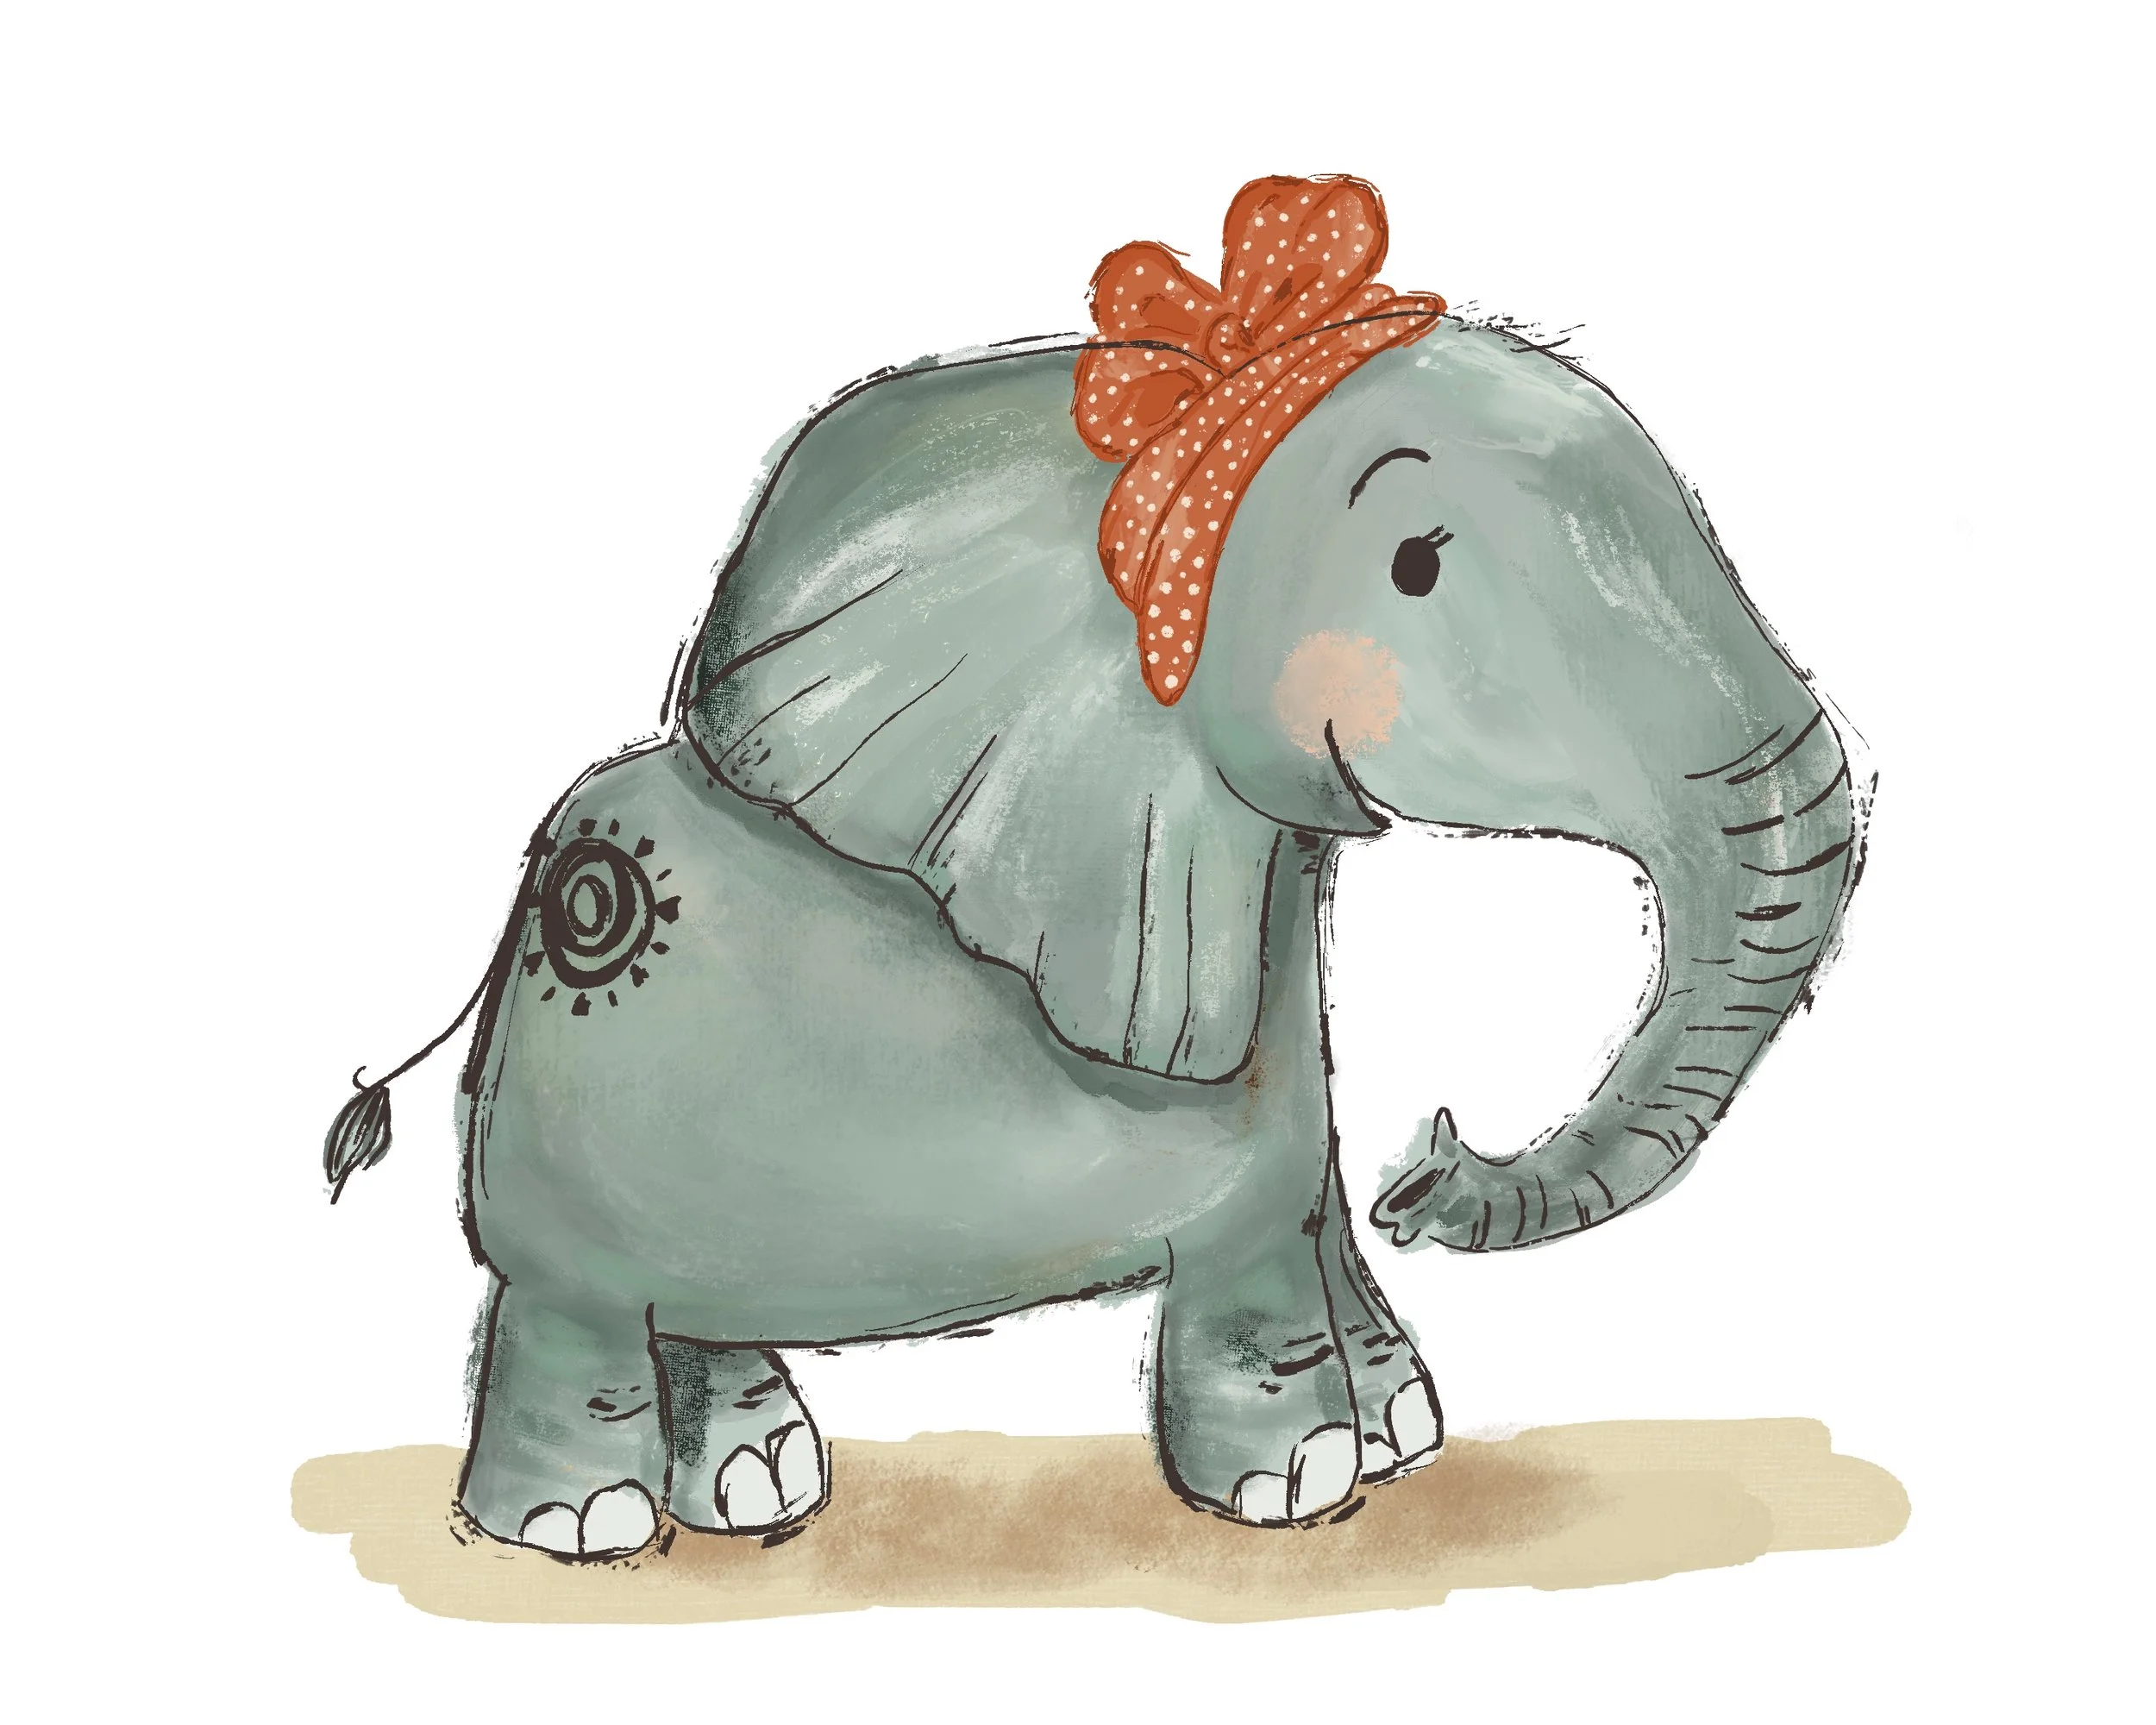
This is an example of an illustration with lots of texture that won’t convert to vector file well without losing some of the details
The Step-by-Step Guide
Ready to try it? Here is exactly how to move your work from Procreate to Illustrator. (Be sure to check out my YouTube video linked at the bottom for a visual walkthrough!)
1.-Export from Procreate in High Quality:Do this on your iPad.
Open your artwork in Procreate. Turn off your background layer if you want the final vector to be transparent. Go to the wrench icon (Actions) > Share > and choose JPEG, PNG or TIFF. Airdrop or send the file to your computer.
2.-Place the Image in Adobe Illustrator:
Open Adobe Illustrator on your desktop and create a new document. Go to File > Place and drop your exported Procreate image onto the artboard.
3.-Open the Image Trace Panel:Where the magic happens.
With the image selected, find the Image Trace button in your Properties panel (or go to Window > Image Trace). Don't just click the default button! Click the dropdown and try High Fidelity Photo for full color, or 16 Colors for a simpler, cleaner look.
4.-Tweak the Trace Settings:
Open the Advanced settings in the Image Trace panel. Play with the Paths (higher = closer to original shape, but more anchor points), Corners, and Noise sliders until you find a good balance between preserving detail and keeping the paths clean.
5.-Hit Expand:
Once you are happy with the preview, click the Expand button in the Properties panel or top control bar. This finalizes the trace, officially converting your image from pixels into editable vector anchor points.
6.-Clean Up the Background:
If Illustrator traced a white background box around your art, grab the Direct Selection Tool (A) (the white arrow), click the background shape, and hit Delete.
Watch the Full Walkthrough
But if you are more of a visual person, like I am, the easiest way is to check the full tutorial to follow along!

You can to see exactly how I adjust the Image Trace sliders to get the best result out of textured brushes
By converting your raster art to vectors, you are future-proofing your illustrations for any client, any product, and any size. It takes a little practice to get the settings right, but the infinite scalability is completely worth it.
One last visual, this is the difference between raster (left) and vector (images). This will give you an idea of the problem you will run into if you enlarge a raster illustration.
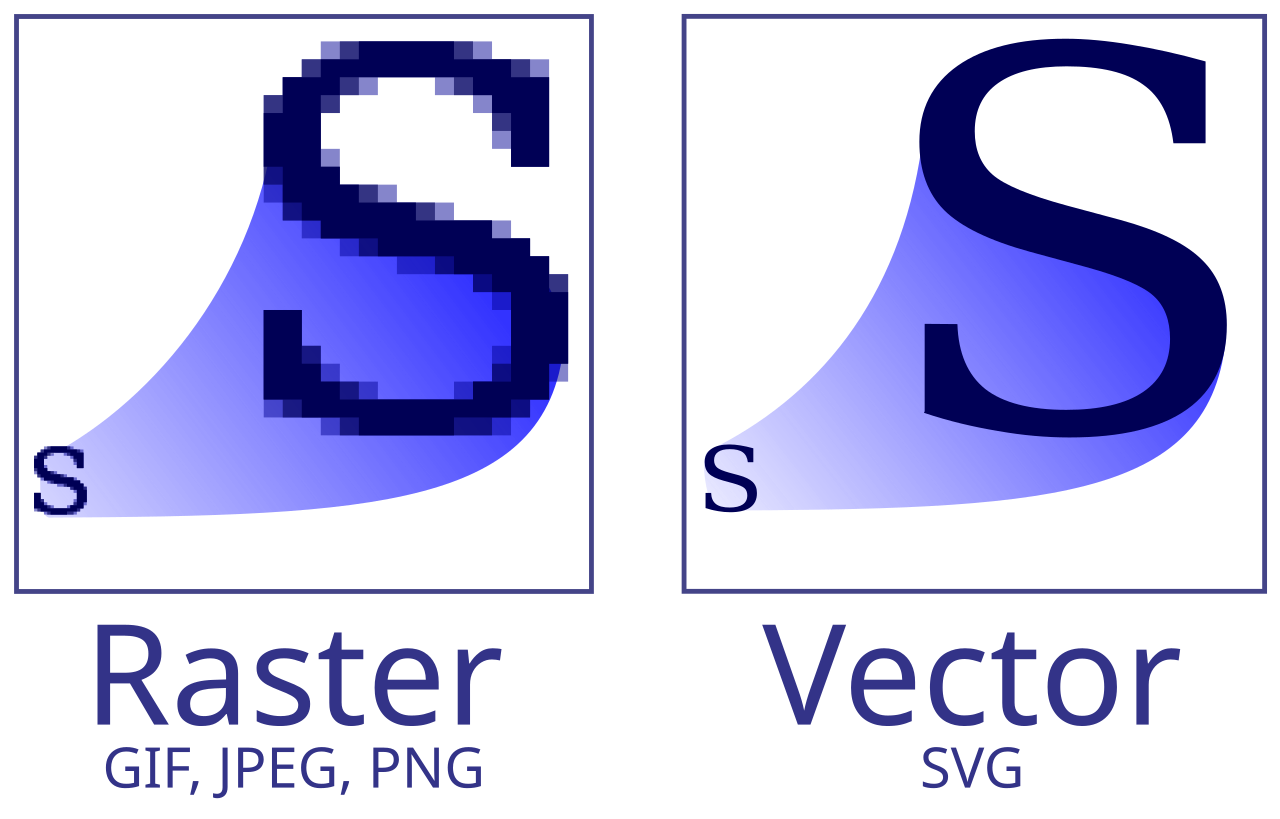
RIGHT: Vector Paths (Smooth at Any Scale)
This side shows what your mouse looks like after it has been correctly converted into a vector format..
Notice that the edges of the line art are perfectly sharp and smooth, even at this high magnification. The fine texture of the fur has been re-drawn into smooth, layered mathematical paths and gradient blends. This version can be printed on the side of a skyscraper, and it will remain this crisp. This process lets you increase the size of your illustrations by 1000% while still maintaining professional resolution and smooth gradients.
LEFT: Raster Pixels (EXTREME MAGNIFICATION)
This is what happens when you take your original pixel-based artwork and "blow it up" for a large print. Look closely at the eyes and whiskers..
When you zoom in past a raster image's native resolution, you are literally looking at the individual pixels that make it up. You can see the blocky, jagged edges. This is why you must pick a very large canvas size in Procreate if you plan to make a poster, because you can't scale it up later without it looking like this.
I hope this information was useful. If you have any questions I will be happy to help you answer them. Just sent me a message!
Thank you for reading and happy conversion!
Ana